| 10210 Systems Parkway, Suite 390 Sacramento, CA 95827 |
|
| cd1@catalinadirect.com | |
| 1-800-959-SAIL (7245) |
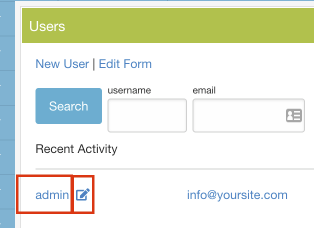
Users Manager
The User Manager is where you perform various functions with users: assigning them to groups, making them an affiliate, changing their account information, etc.
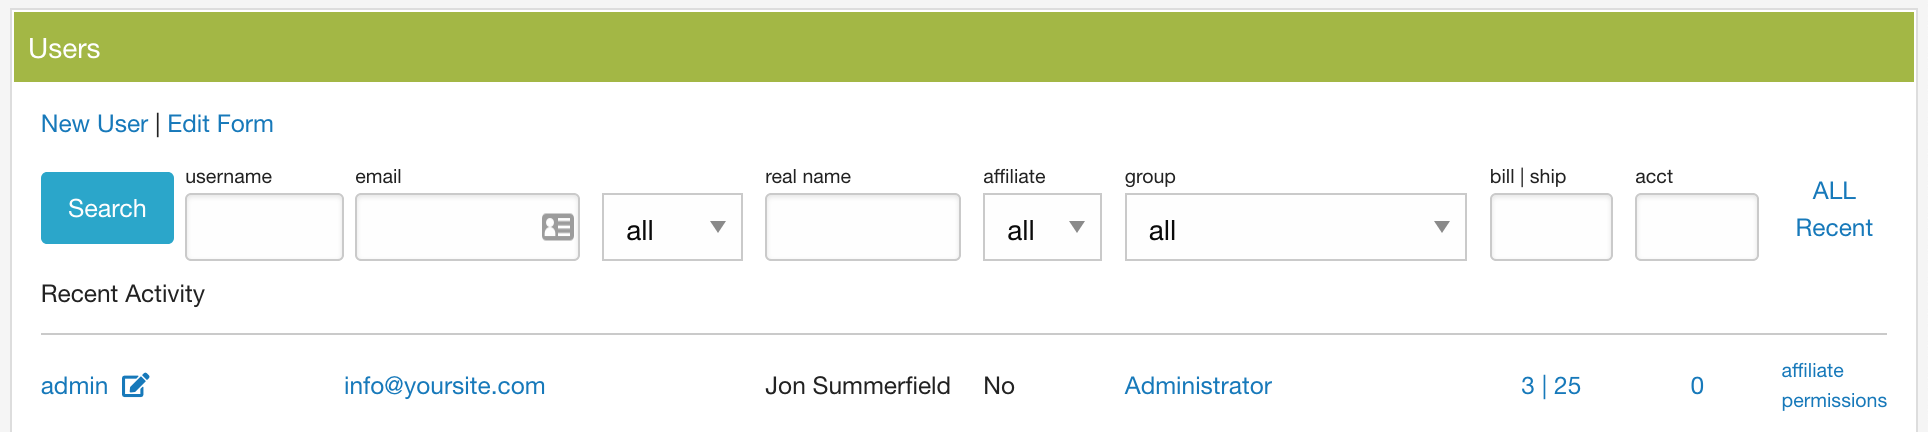
By default, the list of users will show accounts with activity in the last week. You can use the search fields and filters to locate specific users as follows:
- Username – The username for the user. Any portion of the name will match.
- Email – The email address for the user. Any portion of the address will match.
- Email Status – Select from the following:
- All – show all regardless of status
- Good – email accounts that are currently verified and valid
- Lock – If you are using email verifications, these are accounts that have not been verified yet.
- Bad – Email accounts that have been marked as bad.
- Real Name – Enter any portion of the user’s real name to search for them.
- Affiliate – Select to see users that are affiliates, or not.
- Group – You can search for users in a specific group, or currently unassigned to a group.
- Bill|Ship – Search for users by their currently assigned customer address. Enter the ID for the address to find accounts with this address assigned to the billing or the shipping address.
- Account – Enter an account number to find the user assigned to that account (if any).
You also have links to view All user accounts or Recent activity and a link to add a New User. There is also a link to switch to the List Edit view for performing batch actions on the users. Simply check off the users you wish to include and click on Batch Move to move these users to a new group or Batch Delete to remove these users from the system.
On List View, the following information and actions are available for each user:
- User ID – The system ID for this user, with a link to edit the user account.
- Username – The username for this user, with a link to the User Summary page. Disabled accounts will be flagged in red.
- Email – The email for this user, with link to the admin email function to send them an email. If the username is the same as the email, only one will be displayed, linked to the User Summary. The email will also be flagged by color, using red for bad emails, and yellow for unverified addresses.
- Real Name – The name associated with the user account, if any
- Affiliate – The user’s affiliate status
- Group – The user’s currently assigned group. If the user is not assigned to a group currently, the list of groups will be shown, select one from the list to move the user to that group.
- Addresses – Displays the Customer ID for the user’s billing address and shipping address. Click on the link to go to the Customer Addresses screen to view all addresses for this user or to add new addresses for them. You must add an address before you can assign it to the user on the user form.
- Account – Number of business accounts associated with this user. Click on the link to view a list of these in the Account Manager.
- Affiliate – Click the affiliate link to view and edit the current information for this user if they are an affiliate, or to make them a new affiliate.
- Permissions – If you have access to edit user permissions, click the link to assign permissions for this user. If the user is assigned to a group, they will receive all permissions that the group has, PLUS any additional permissions you assign to them here. See the Permissions Settings for more information.