| 10210 Systems Parkway, Suite 390 Sacramento, CA 95827 |
|
| cd1@catalinadirect.com | |
| 1-800-959-SAIL (7245) |
Easypost Settings
Easypost is a 3rd party provider of shipping rates and shipping labels. NucomWebHosting.com offers Easypost integration as a service for a monthly fee. The first part of this page explains how to setup your account.
How to setup your Easypost account
REGISTER AT EASYPOST
Go to Easypost.com signup page
- Go to Easypost.com and sign-up for service.
- You'll need to add a credit card for billing.
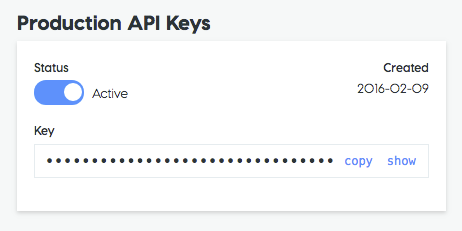
- Go to Account > API.
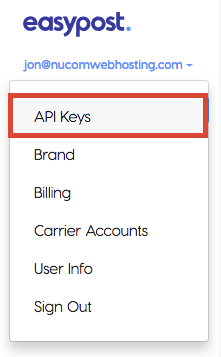
- Copy your production API key.
REGISTER ON NUCOMWEBHOSTING.COM
- Go to Nucomwebhosting.com and purchase the Easypost Service.
- After you complete the purchase, login to your 'My Account' area.
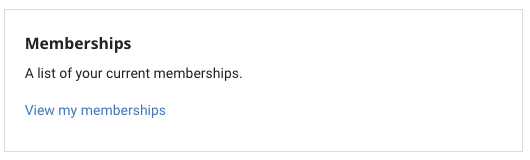
- Go to View my Memberships
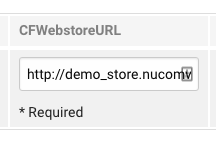
- Enter the the URL of your CFWebstore and click 'Generate New Keys'

- You will now see all the completed fields. Leave this screen open and return to your CFWebstore.

EASYPOST SETTINGS
- On your store, go to Admin > Shipping > Easypost Settings.
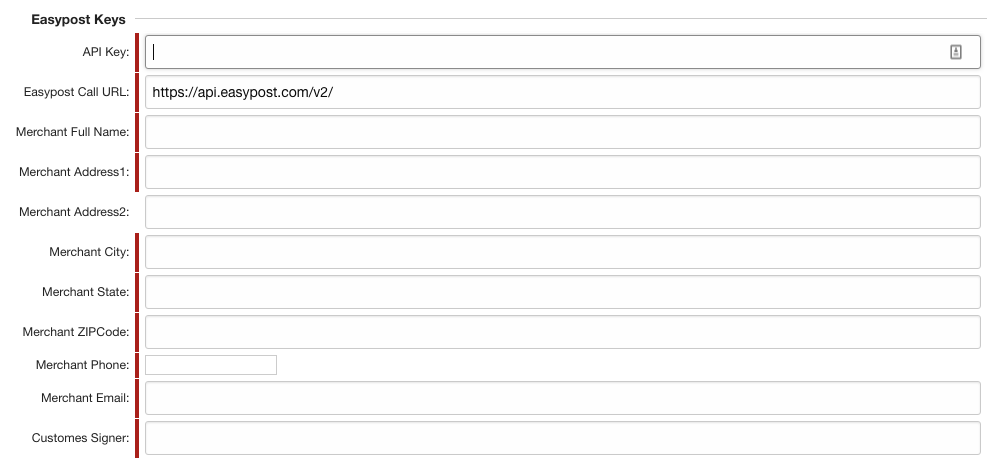
- Fields
- API Key - Enter in the production API from Easypost (from above)
- Easypost Call URL - The current URL is 'https://api.easypost.com/v2/'
- Name - Email - Enter in your current name and address.
- Customes Signer - This name appears on your customs documents for international shipments.
- Nucom Keys
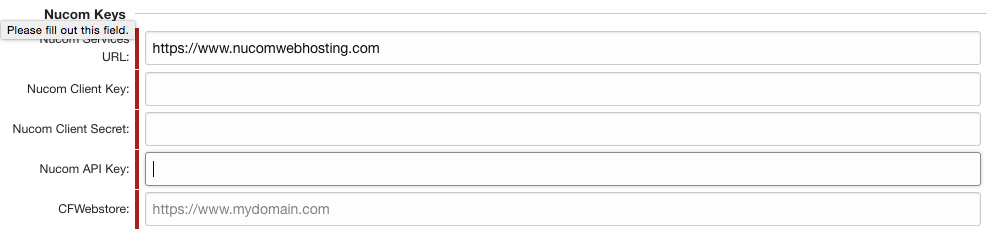
- Nucom Services URL - Is currenty 'https://www.nucomwebhosting.com'
- Nucom Client Key: Copy from your Nucomwebhosting.com account
- Nucom Client Secret: Copy from your Nucomwebhosting.com account
- Nucom API Key: Copy from your Nucomwebhosting.com account
- CFWebstore - this is the URL of your website. Must be exactly the same as the URL you entered.
ADDITIONAL SETTINGS
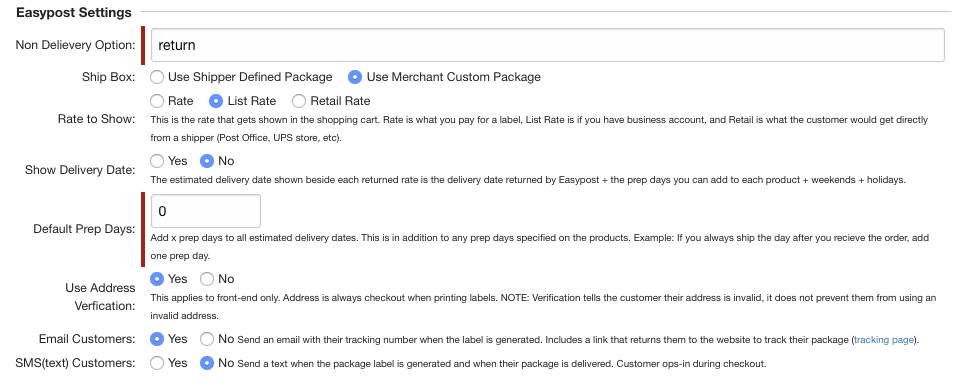
- Non Delivery Option: Options are 'return'
- Ship Box: Shippers needs to know the dimensions of your shipping boxes in order to charge DIM weight or oversize rates. You can choose where Easypost gets those dimensions.
- Use Shipper Defined Package - You choose form a list of pre-defined shipper's package. IE: USPS Small Flat Rate Box or UPS Tube. The dimensions of the package are automatically calculated and added to the label.
- Use Merchant Custom Package - You can either enter your own predefined box sizes or just enter dimensions manually. You can enter your own package sizes under admin > Easypost > Shipping Box Sizes.
- Rate to Show: Easypost returns three rates - rate, list rate, retail. You can choose which is shown to the customer.
- Rate - Actual rate that you pay for the label.
- List Rate - Published non-discounted rate that anyone with an account will recieve. This is the rate your customer sees in the shopping cart.
- Retail Rate - The amount a customer would get at the post office or on the shipper's website.
- Show Delivery Date: The estimated delivery date appears beside the shipping option. The estimated date is the shipper's delivery date + default prep days + product prep days + weekends + holidays (entered under admin > Settings > Federal Holidays).
- Default Prep Days: Add a set number of days to the delivery date. Ex: If you always ship the day after the order is received, add one day.
- Use Address Verfication: This applies to front-end only. Address is always checkout when printing labels. NOTE: Verification tells the customer their address is invalid, it does not prevent them from using an invalid address.

- Email Customers: Send an email to the customer with their tracking number when the label is generated. Includes a link that returns them to the website to track their package tracking page. Sends a second email when the package is delivered.
Requirement: Use must setup webhooks on the Easypost website for the customer to get the delivery email. - SMS(text) Customers: Send a text when the package label is generated and when their package is delivered. Customer ops-in during checkout.
Requirement: Use must setup webhooks on the Easypost website for the customer to get the delivery email.